For illustrative purposes only, our technicians made a video tutorial on how to carry out the modification to the display SEI-DISP259.DO NOT SKIP ANY STEPS.
Undo the screws of the metal frame with a Torx T10 screwdriver.
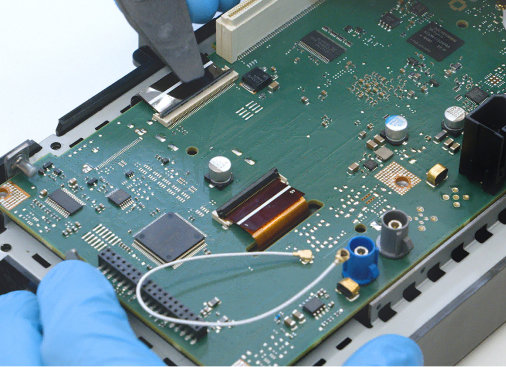
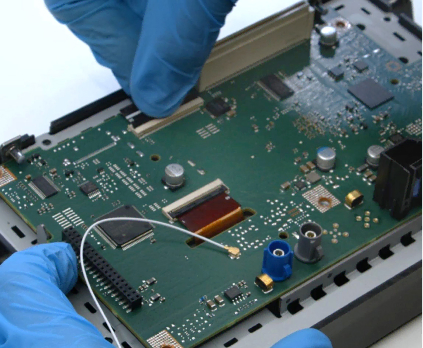
With the aid of a pry tool, undo the display FPCs from the ZIF connectors.
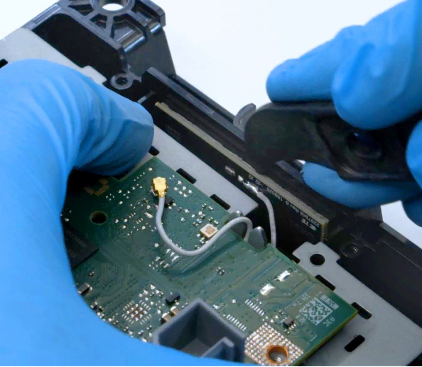
Detach the PCB antenna from the plastic frame using a pry tool.
ON THE LOWER SIDE OF THE DISPLAY HOUSING: With a file, remove the plastic portions highlighted.
ON THE LATERAL SIDES OF THE DISPLAY HOUSING: File down on both sides the plastic portions highlighted by about 1 mm.
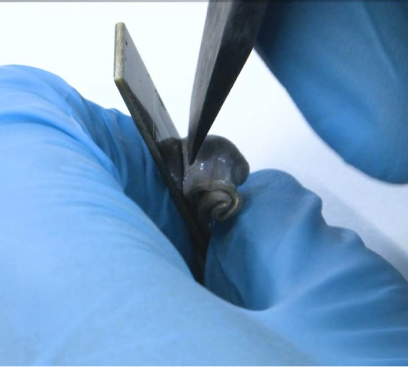
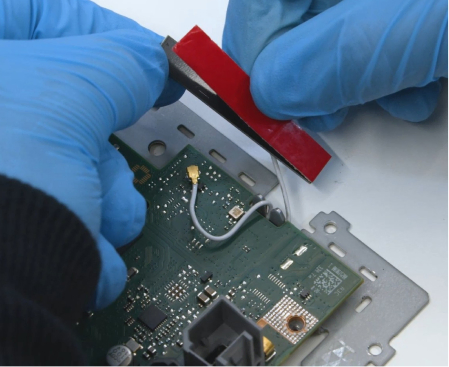
Remove the adhesive from the PCB antenna.
Replace the adhesive with the one supplied with the display.
Fix the PCB antenna as it was originally.
Place the metal frame and reconnect the FPCs.
To secure the frame, use the six screws supplied with the new display.THERE IS NO NEED TO TIGHTEN THE LOWER SIDE OF THE FRAME
After the modifications, the metal frame will properly fit into the plastic housing on all sides.